Settings — User Management
Navigate to: Settings > Users tab (Admin only)
This tab lets administrators manage team members and their access levels.
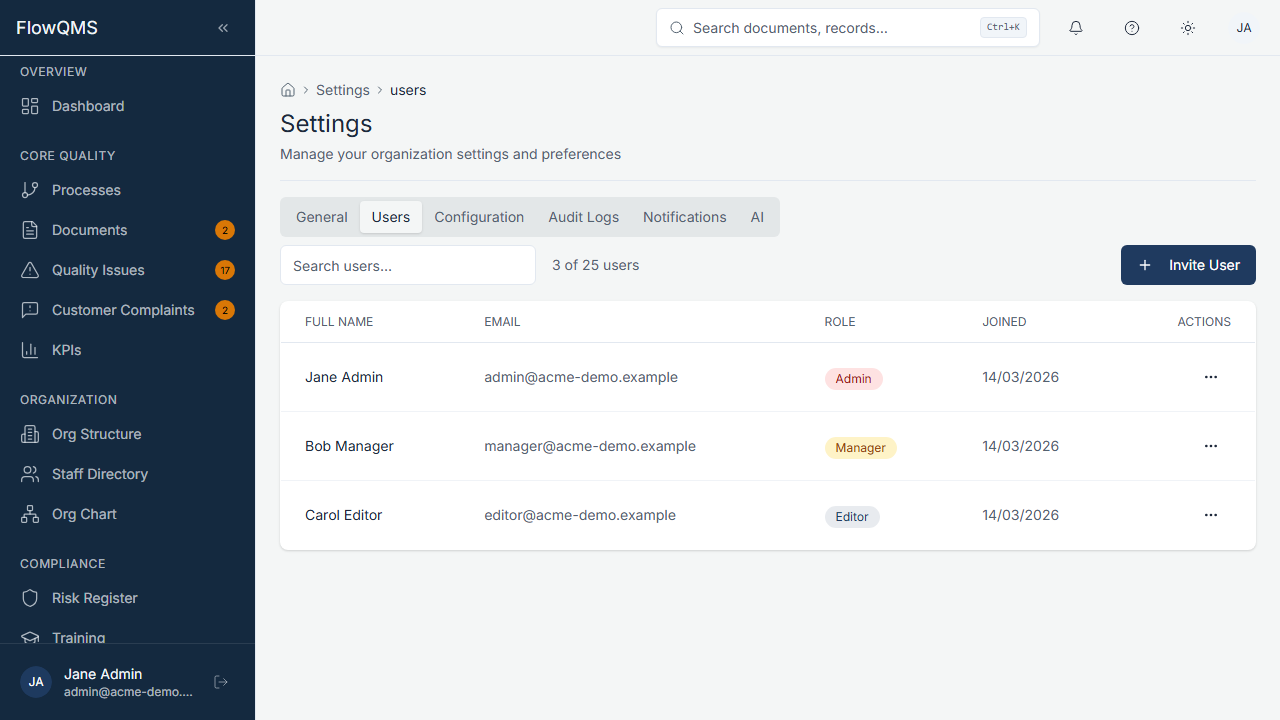
View and manage all organization members with their roles and join dates.
User List
A data table showing all organization members:
| Column | Description |
|---|---|
| Full Name | Team member's name |
| Email address | |
| Role | Color-coded role badge (Admin = red, Manager = orange, Editor = blue, Viewer = gray, External Auditor = gray) |
| Joined | Date the user joined the organization |
| Actions | Change Role, Deactivate |
A member count is displayed (e.g., "3 / 50 members").
Inviting a New User
- Click the "Invite User" button
- Fill in the invite dialog:
| Field | Description | Required |
|---|---|---|
| New user's email address | Yes | |
| Full Name | New user's name | Yes |
| Role | Select their role: Admin, Manager, Editor, Viewer, or External Auditor | Yes |
- Click "Send Invite"
- The user receives an email with instructions to set their password and join
For a full breakdown of what each role can do, see Roles & Permissions.
Changing a User's Role
- Click the "Change Role" action button on the user's row
- Select the new role from the dropdown
- Confirm the change
Deactivating a User
- Click the "Deactivate" action button on the user's row
- Confirm the deactivation in the dialog
- The user can no longer log in but their historical data remains intact
WARNING
Deactivating a user is reversible by an admin, but the user will immediately lose access.